Jupyter Notebook Basics
Jupyter Notebook is an open-source application that allows creating and sharing documents that contain code, visualizations, and documentation. It is often used for data analysis as it allows running and testing code in small pieces and makes it easy to visualize data as outputs are also shown in the notebook.
Using Jupyter notebooks in VSCode is optional for the course. However, it can make running small pieces of code and visualizing data easier.
Jupyter notebook support
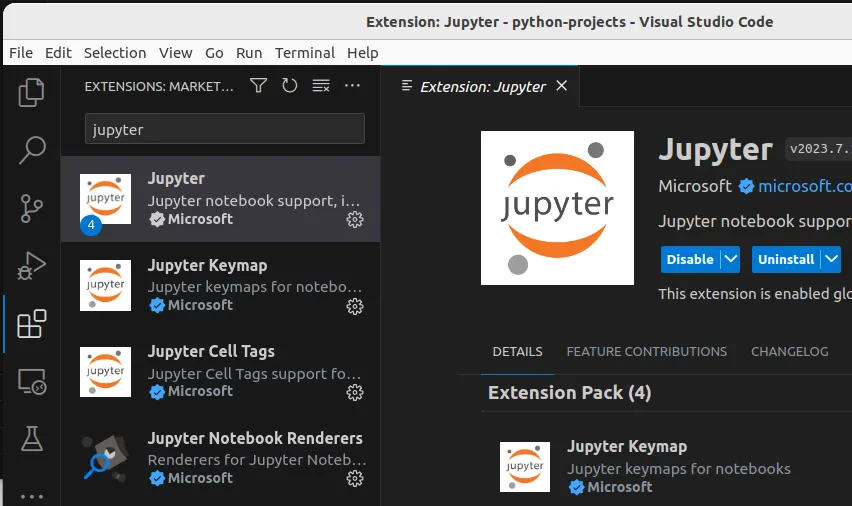
To add Jupyter notebook support to VSCode, click on the Extensions icon on the left hand sidebar and type jupyter in the search bar. You should see the Jupyter extension by Microsoft showing up. Install it.
The following image shows a situation where the Jupyter extension has been installed.
First notebook
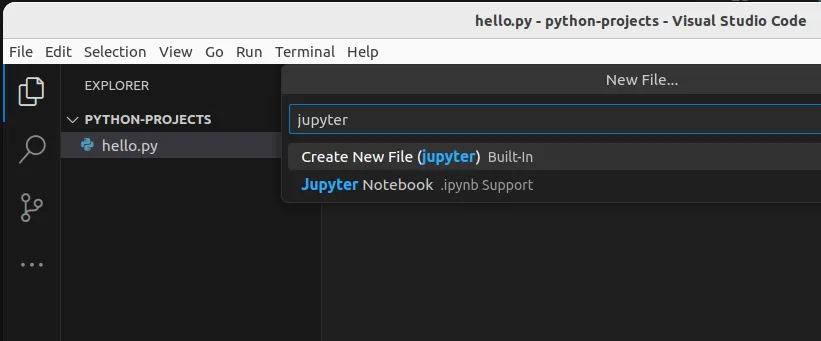
To create a new notebook, click on the File menu and select New File. This opens up a window where you can select the type of a file you wish to create. When you type in jupyter, an option to create a Jupyter notebook is shown. The following image shows the creation of a new file, where jupyter has been typed in — remember to select the Jupyter Notebook option.
You may also create a Jupyter notebook through VSCode command palette that lists available commands. To open up the command palette, click “View” in the menu bar and select “Command Palette”. This opens up a search for commands. Searching for “Jupyter” will find a command “Create: New Jupyter Notebook” that can also be used to create a new Jupyter Notebook.
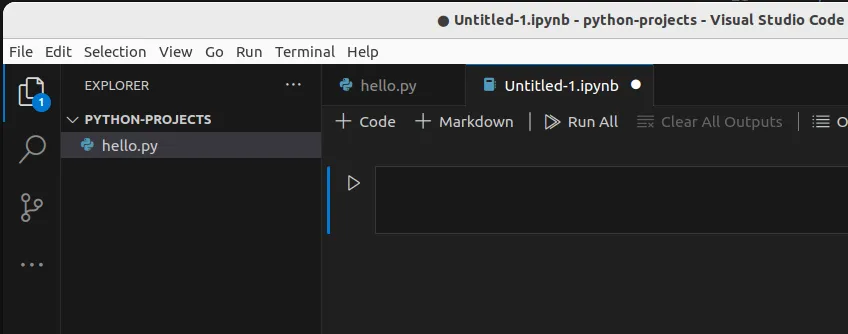
Once you have created a new notebook, it will be shown as untitled, as shown below.
In the above example, the file has not yet been saved. When you save the file, VSCode will ask for the name and the location of the file. In our case, we save the file with the name data-wrangling and with .ipynb as the extension, which is the default extension for Jupyter notebook files.
Running a cell
Jupyter notebooks consist of cells into which you can type code. The code can be run cell by cell.
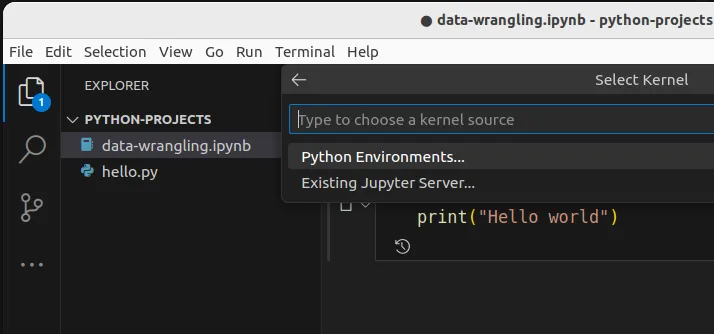
Type in print("Hello world") to the first cell of the notebook and click the Run icon (play) on the left hand side of the cell. When you click on the run cell, VSCode will ask for the kernel that is used to run the code. In Jupyter notebooks, the kernel is the program that runs the code — select the version of Python that you have installed. The following image shows the selection of the kernel.
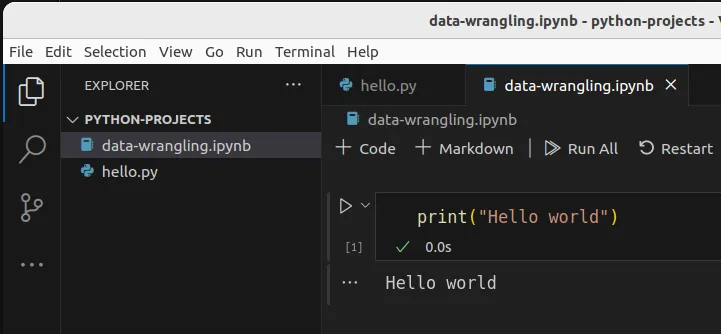
Once you have selected the kernel, the output of the code is shown below the cell. The following image shows the output of the code.
Adding cells
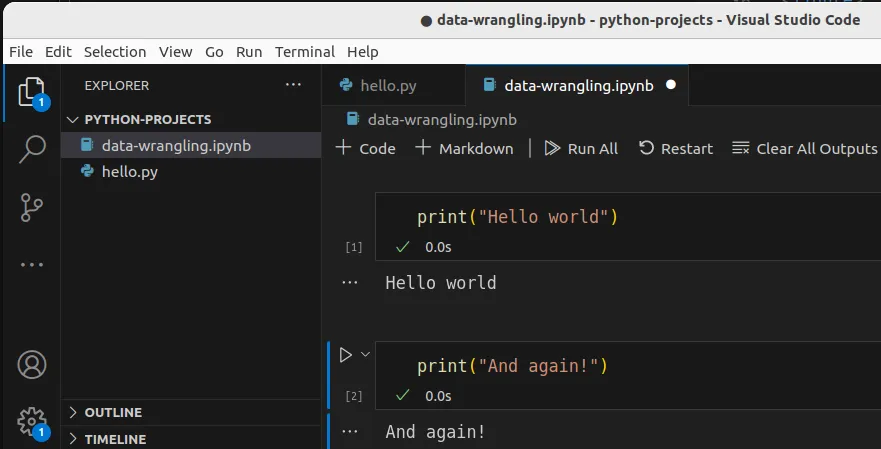
Cells can be added to the notebook by clicking the + Code and + Markdown icons in the notebook. The example below shows a situation where we have clicked + Code to create a new code cell, typed in code, and pressed the run button to run the code.
Structuring a notebook
Jupyter notebooks are often used to document data analysis. This means that the notebook should be structured in a way that makes it easy to follow the analysis. This can be done by using markdown cells to document the analysis and by using code cells to run the code.
Typically, a notebook starts with a markdown cell that describes the purpose of the notebook, followed by a cell with code that installs any required libraries. In a Jupyter notebook, pip install commands are prefixed with an exclamation mark.
The cell that installs the libraries is followed by a cell that loads the libraries with the import command, while the subsequent cells contain the code that loads the data and runs the analyses.
Explore structuring a notebook and working with a notebook in the next part.